
Creative glazing: step by step to your perfect ceramics
Share
For us, glazing is one of the most beautiful and exciting parts of making ceramics. It brings color, character and a personal touch to each piece, making your handmade ceramics truly unique. Whether you are just starting out with ceramics or already have experience, we are happy to share our best glazing tips to make your work shine.
1. Choose glazes that suit your style
We like to work with soft shades, because they give our ceramics a warm, sweet look. Because each glaze reacts differently during firing, we have made a test tile of each glaze. This is very useful, because the texture can also vary greatly per glaze. With such a test tile you can see exactly which glaze suits you and your work best.
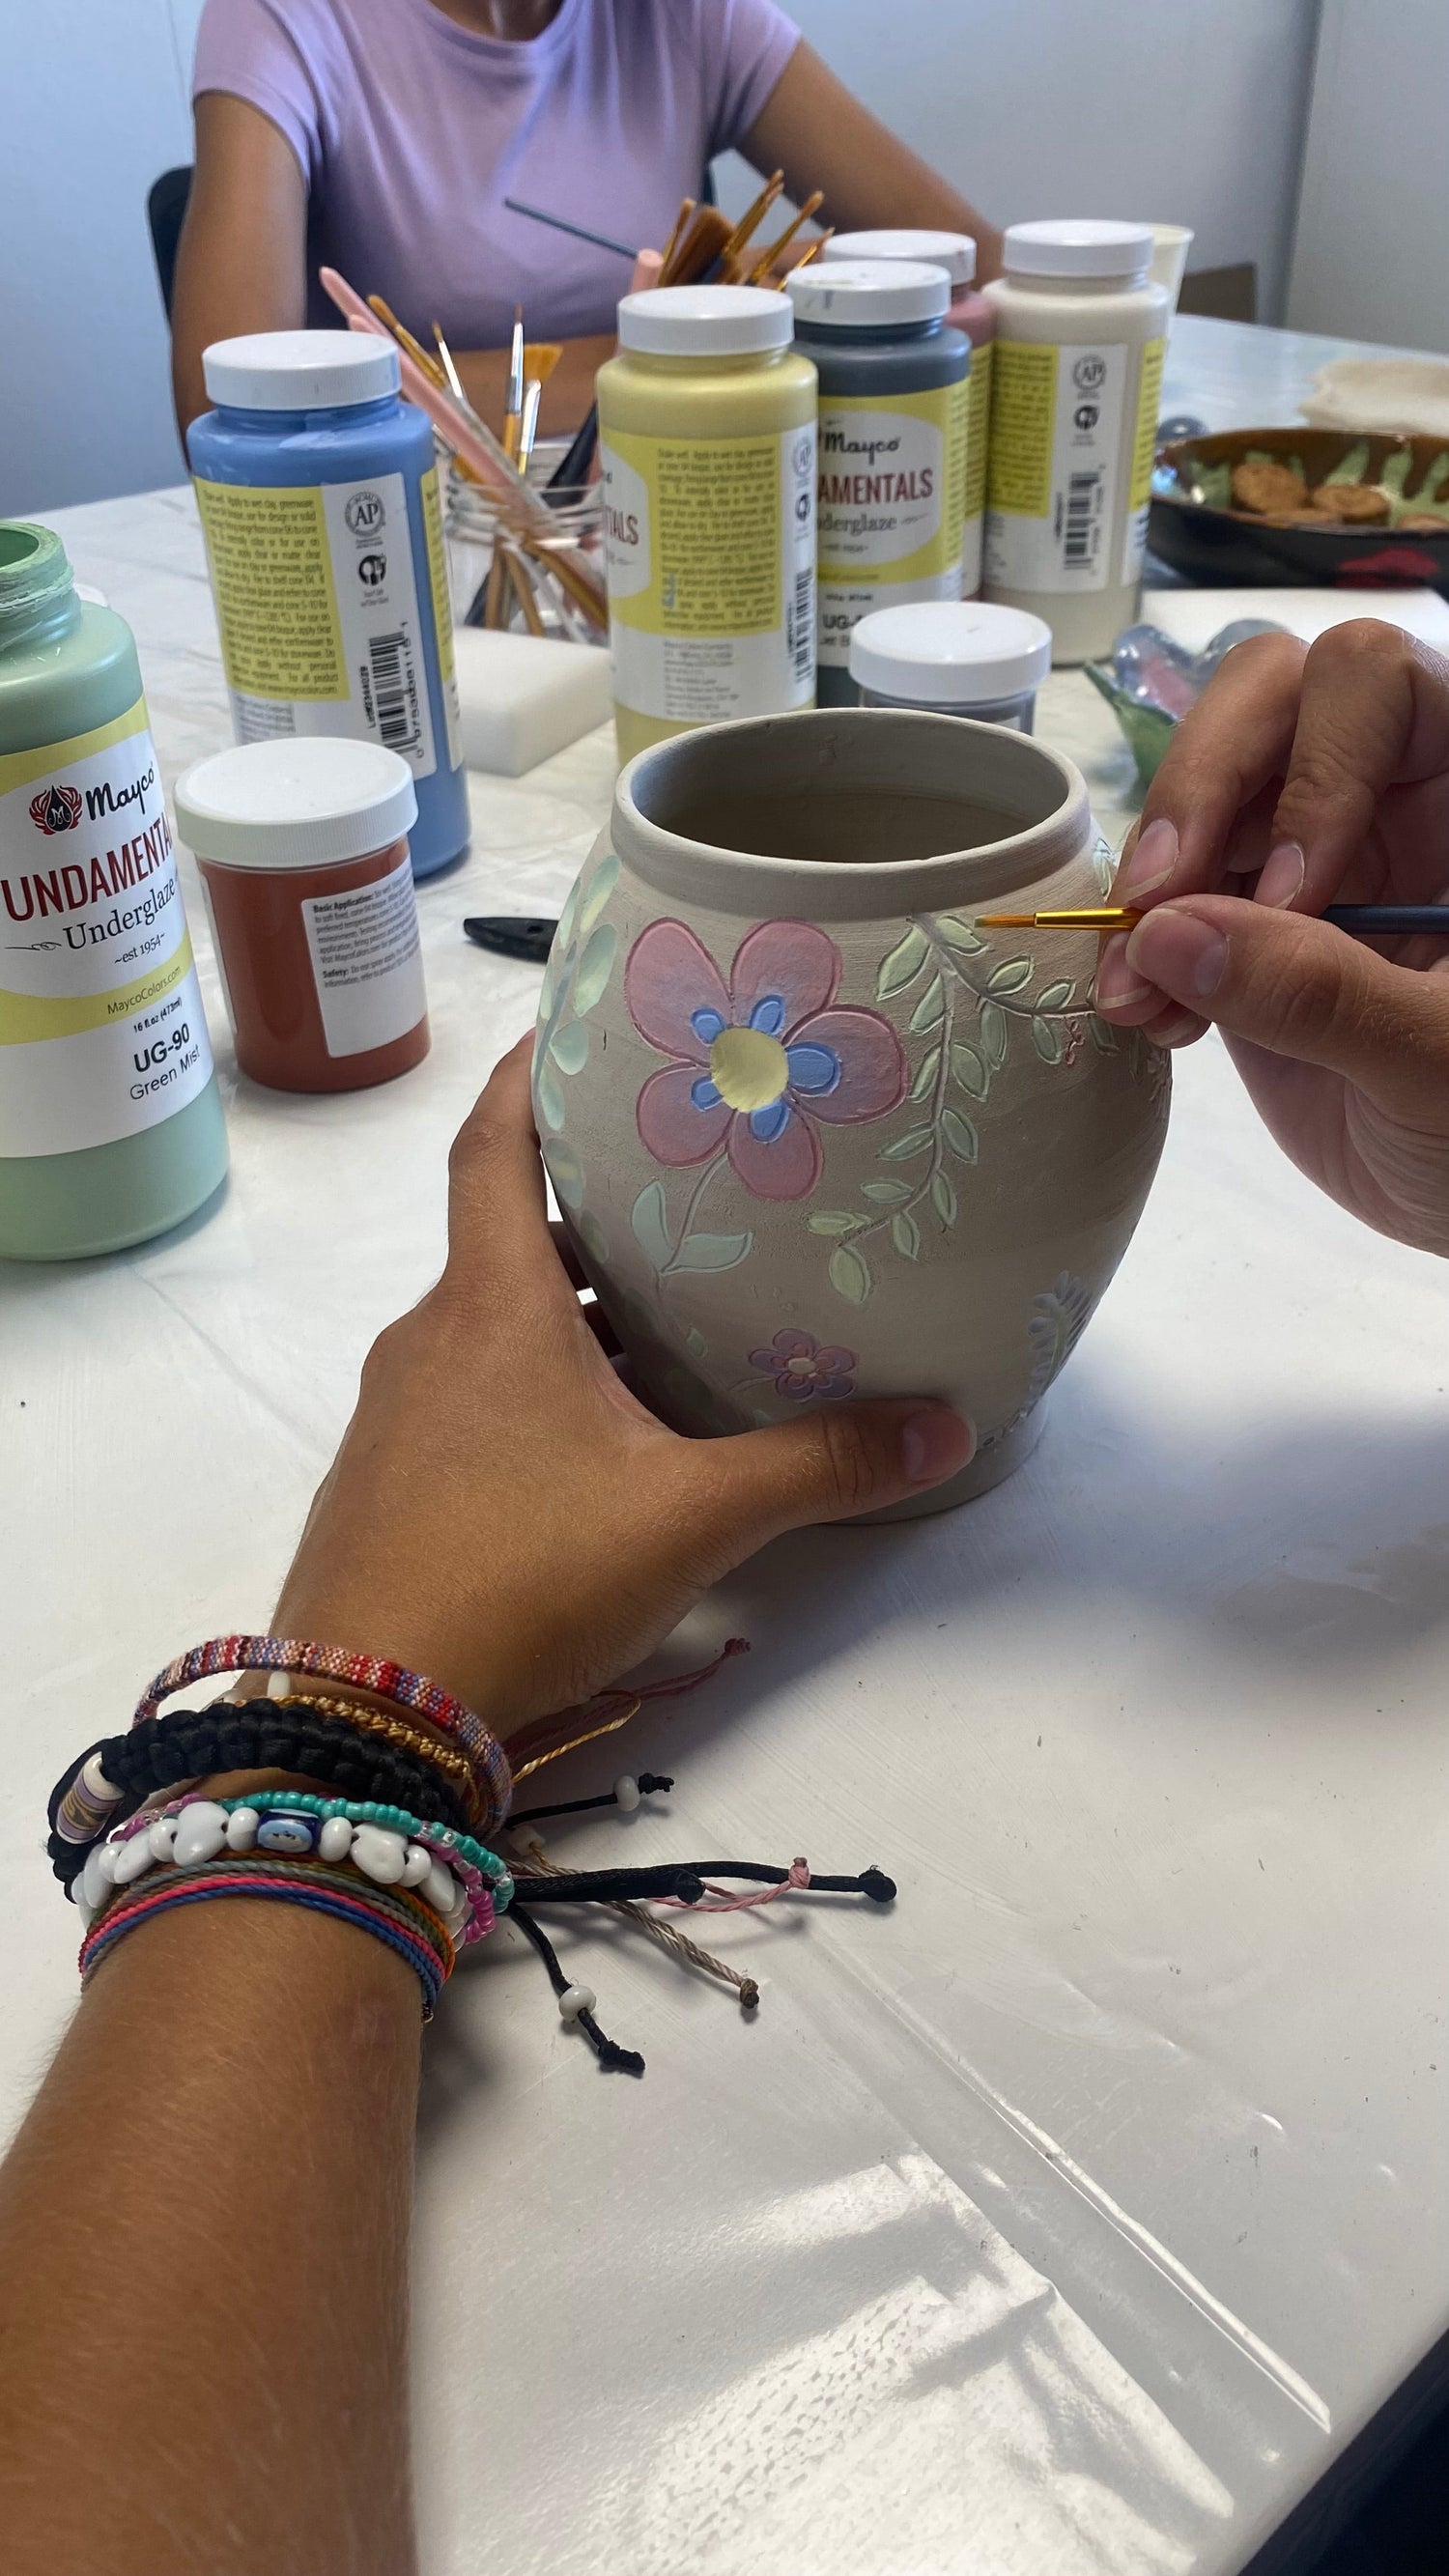
2. Apply the glaze with care
When working with a brush, it is important to apply an even layer. Our experience shows that multiple thin layers are often better than one thick one. That is why we always apply three layers. During our glaze workshops, we explain exactly how to do this best, so that you can get started yourself with confidence.
3. Experiment with colors and techniques
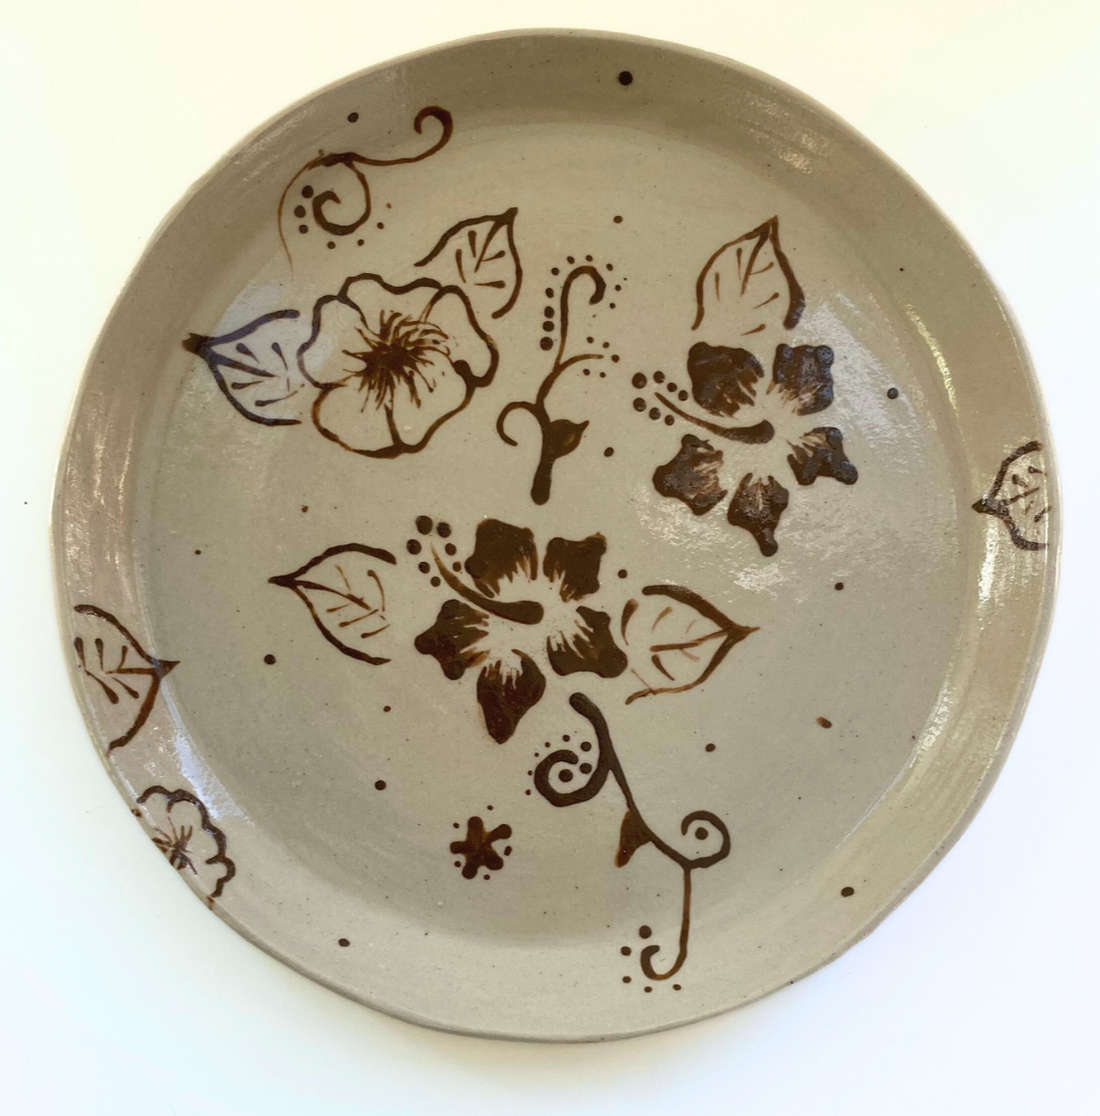
What we like most about glazing is experimenting. For example, we often combine the matte beige with dots with a shiny brown glaze. In our creative glaze workshops, we like to show you how you can create such beautiful effects yourself and give your ceramics a unique effect. In the studio, we also have many inspiring examples ready for you.
4. Enjoy the creative process
For us, making ceramics is not just about the end product, but especially about the fun and relaxation during the creation. Sometimes an unexpected glaze reaction produces the most beautiful artwork. We encourage everyone to be open to surprises and to fully enjoy the process.